XDebug 是 PHP 一個很好用的除錯工具, 同時也是Unit Test 的好幫手, 做好 UnitTest Coverage 就靠它了!
今天在處理 XAMPP 測試環境時發現 XAMPP 3 的 XDebug 設定不見了, 於是花點時間把它找了出來, 在這邊記錄一下如何在 XAMPP 啟動 XDebug 的方法
環境
XAMPP v3.2.2
Windows 10
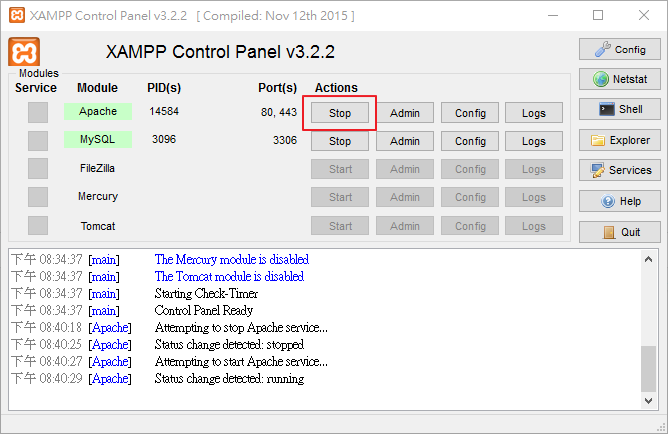
Step 1. 停止 Apache
我們可以藉由 XAMPP Control Panel 先將 Apache 停止
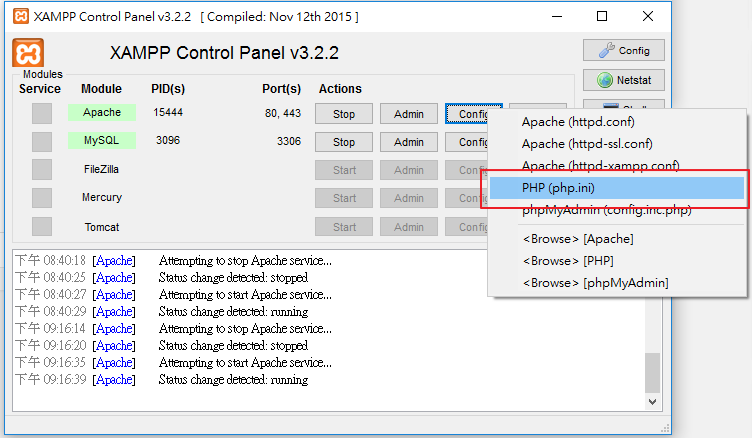
Step 2. 修改 PHP.ini
從 XAMPP Control Panel 中快速開啟 php.ini
並將下列內容貼到 php.ini 的底部並存檔
請記得將 S:\xampp 更換為 XAMPP 實際安裝位置
[XDebug]
zend_extension = "S:\xampp\php\ext\php_xdebug.dll"
xdebug.profiler_append = 0
xdebug.profiler_enable = 1
xdebug.profiler_enable_trigger = 0
xdebug.profiler_output_dir = "S:\xampp\tmp"
xdebug.profiler_output_name = "cachegrind.out.%t-%s"
xdebug.remote_enable = 0
xdebug.remote_handler = "dbgp"
xdebug.remote_host = "127.0.0.1"
xdebug.trace_output_dir = "S:\xampp\tmp"
Step 3. 啟動 Apache

Step 4. 確認 XDebug 正常載入
如果 XDebug 有正常載入, 我們便可以在 phpinfo 中看到相關資訊

小記
在 XAMPP 3 之前, XDebug 的設定都已經幫我們寫好在 php.ini 裡, 只是被註解掉了, 但 XAMPP 3 之後就消失, 讓我還特地去挖設定檔